
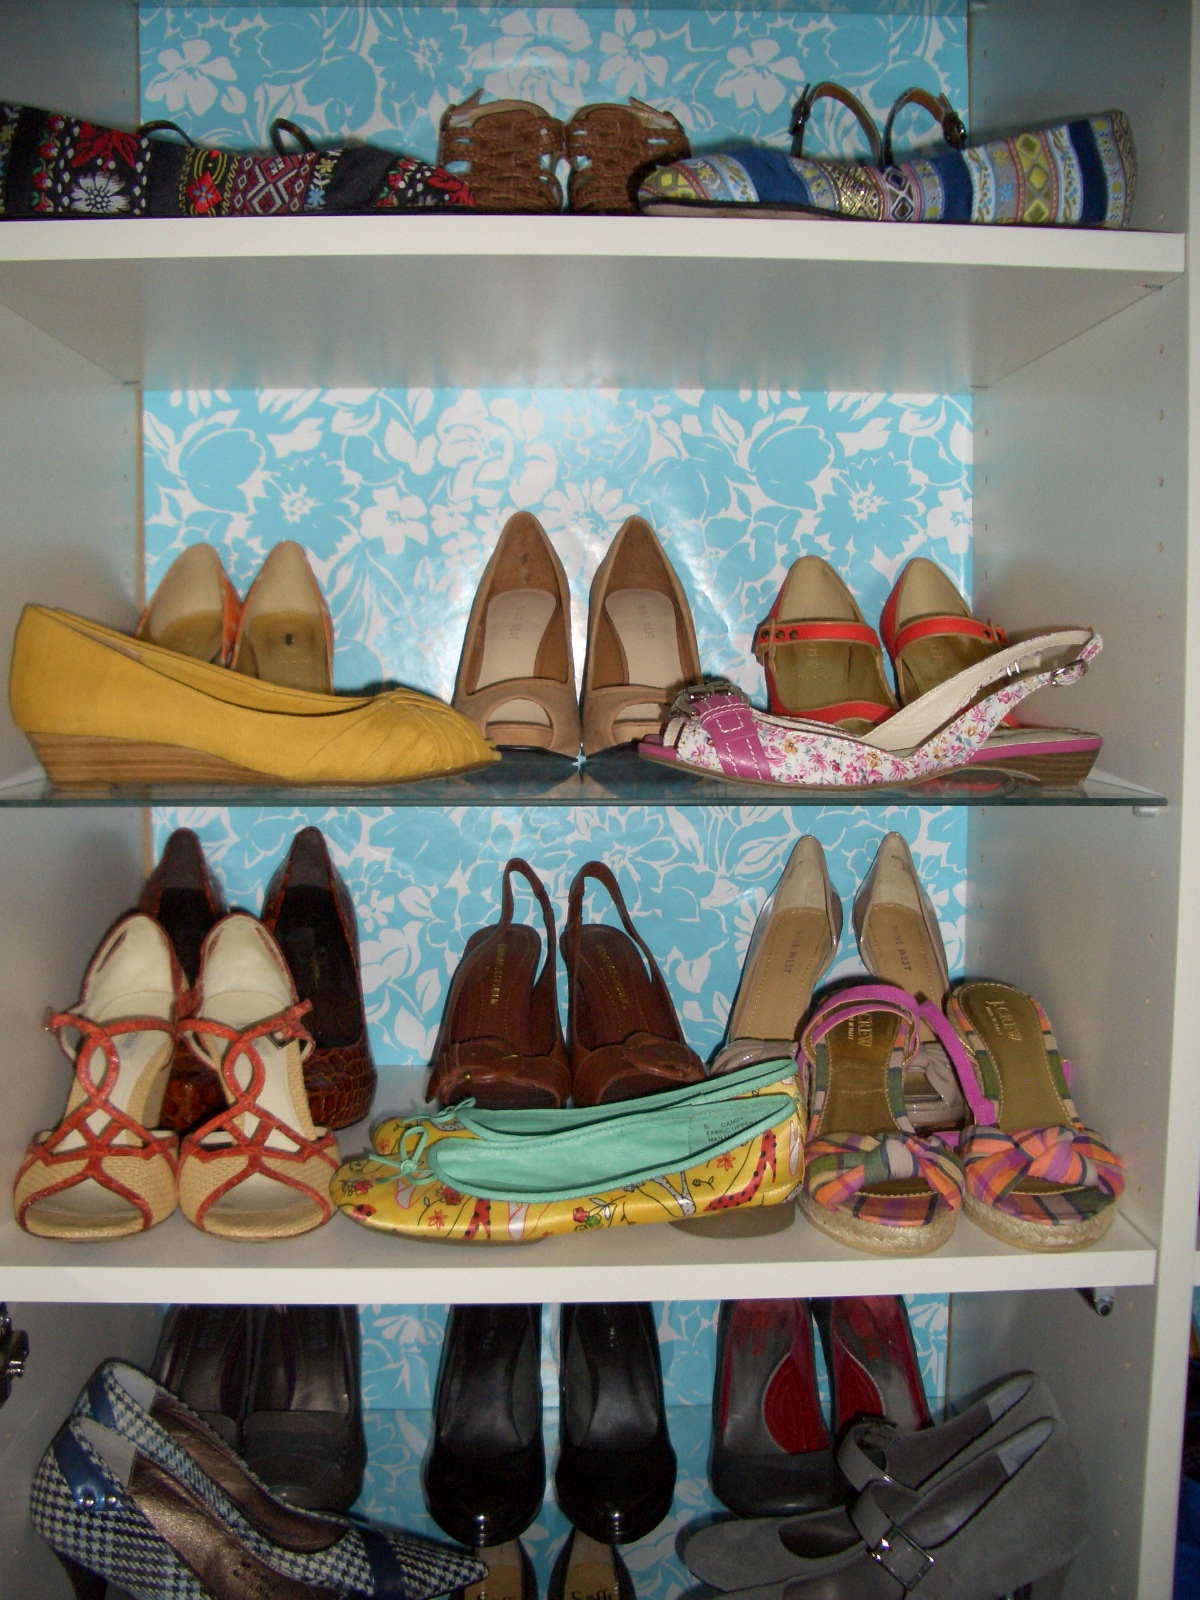
The hubs and I were so careful with putting together the cabinet until one crucial misstep...we put the back piece on BACKWARDS! Since the back piece had to be nailed in and involved 50 nails, it wasn't worth it to pry it apart, flip it, and re-nail it the right way. This delayed the completion of the project until I could figure out how to cover up the ugly brown backing that was now showing through the front of the cabinet. One day I had to purchase some wedding cards from Hallmark and found some pretty turquoise blue and white gift wrap and had an idea. I could use the gift wrap to cover up the back!! Two rolls of wrapping paper did the trick along with my tape runner.
After that was done, I put the pegs and shelves in, then screwed in the hinges and added on the doors. The doors was the most awful step of the whole process, it was heavy and not cooperating. After much swearing and sweating, my cabinet was finally complete and ready to be filled with shoes! I was able to cram in 84 pairs of shoes and am happy with the end result. Now I have to figure out what to do with my remaining shoes!


No comments:
Post a Comment